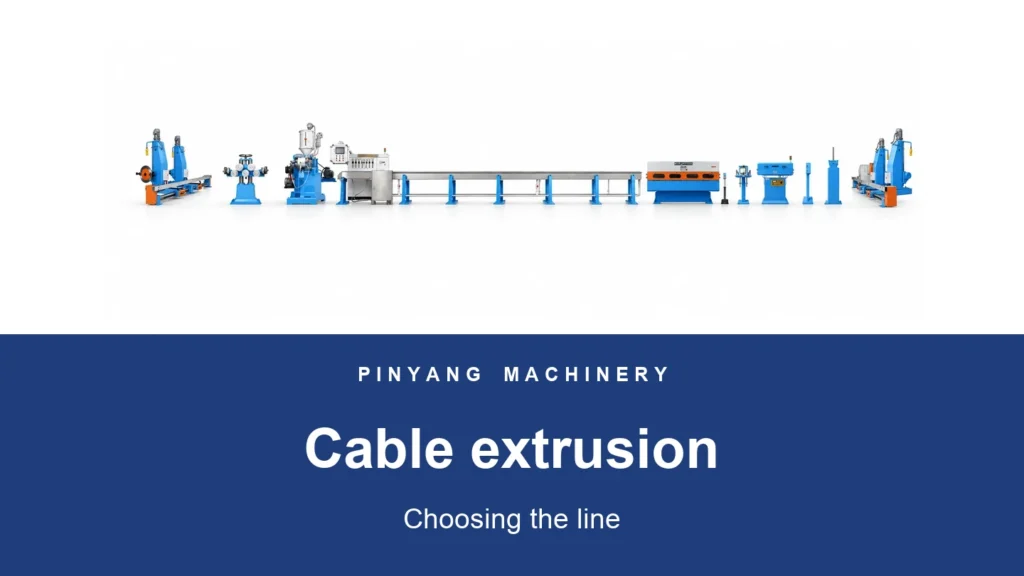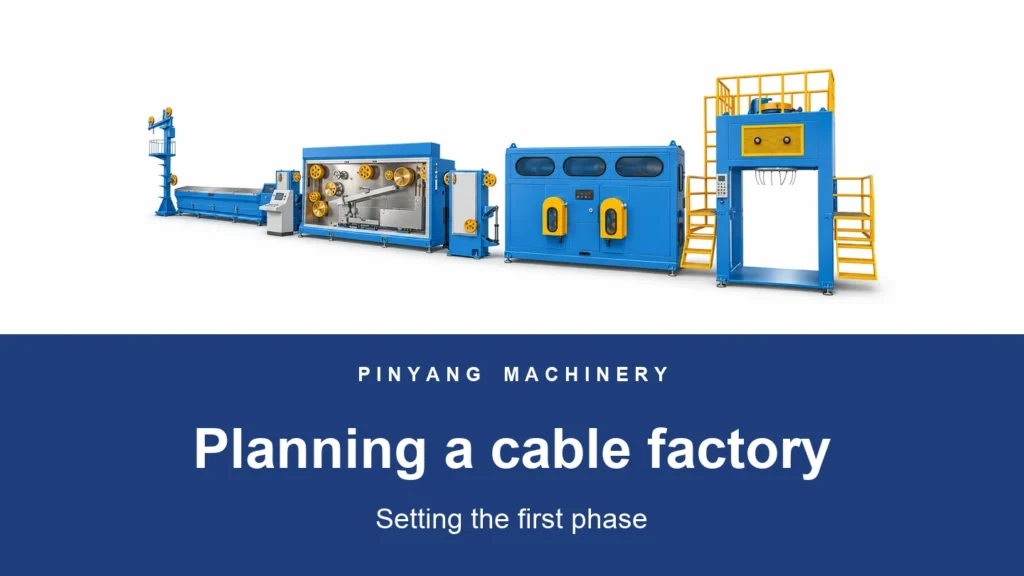
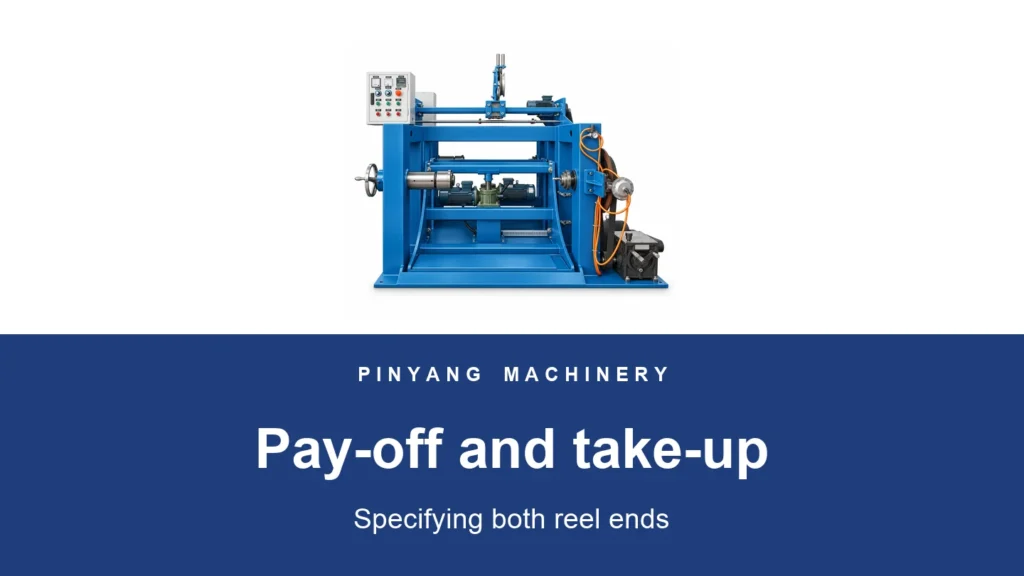
A pay-off can accept the flange diameter on a reel drawing and still fail to fit its bore or overall width. At the other end of the line, the take-up has to build a package the next operation can actually handle.
Review each end of the line twice, first with the reel nearly empty and then with it full. Use the same reel drawing and operating conditions when the mechanical and controls teams compare notes.
Survey the supply reel and the finished package
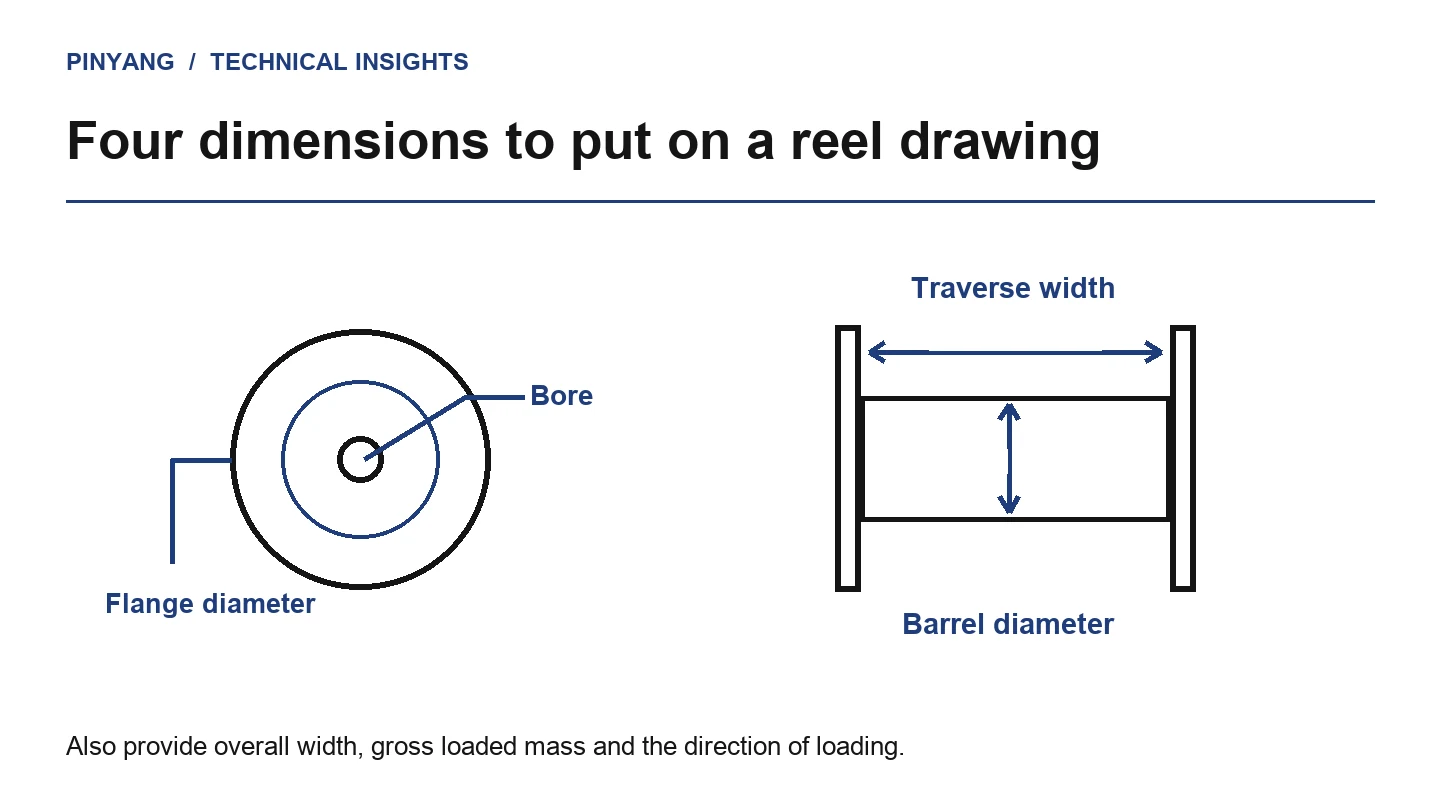
Measure flange diameter, barrel diameter, traverse, overall width and bore. Record reel mass when empty and full, the loading direction, and the drive-hole or pintle arrangement if applicable. If more than one reel is used, send the smallest and the largest drawings.
The reel reference chart published by Encore Wire illustrates the flange, drum, traverse and arbor dimensions independently. Use your actual reel drawing for compatibility.
Record both ends separately
| Supply side | Collection side |
|---|---|
| Incoming reel dimensions and loaded weight | Finished reel or package dimensions and loaded weight. |
| Material entering the connected process | Product leaving the connected process. |
| Loading and reel-change arrangement | Collection, unloading and next-operation transfer. |
| Feed and tension requirements | Take-up duty and line coordination. |
Survey checklist
Use the actual reels and material path to complete the survey. Mark each input as it becomes available.
- Reel flange, barrel, traverse and bore dimensions
- Maximum loaded reel weight
- Wire or cable construction and dimensions
- Required tension and line operating range
- Loading method and available access
- Existing line control and stopping interfaces
Check the tension envelope as the winding radius changes
At the same line speed, the smallest winding radius demands the highest reel speed. At the same tension, the largest winding radius demands the highest steady-state torque.
For a winding radius r, line speed equals angular speed multiplied by r. Ideal steady-state torque equals material tension multiplied by r. The loaded reel also changes inertia, so the acceleration and stopping conditions belong on the duty sheet.
Give the supplier both operating extremes plus the product’s acceptable tension window and bend constraints. The auxiliary equipment range can then be reviewed against the actual feeding duty.
What to ask
“Show the permitted tension and speed at both reel diameters, then describe the winding and product condition after an agreed start and stop.”
Witness the new unit running with the retained line
Identify the speed reference and the owner of each signal
Identify the machine that owns the line-speed reference. Ask both suppliers to document which side owns run permission, normal stop, fault indication, tension feedback and reset. Have the responsible controls and safety specialists review the integration with the existing line.
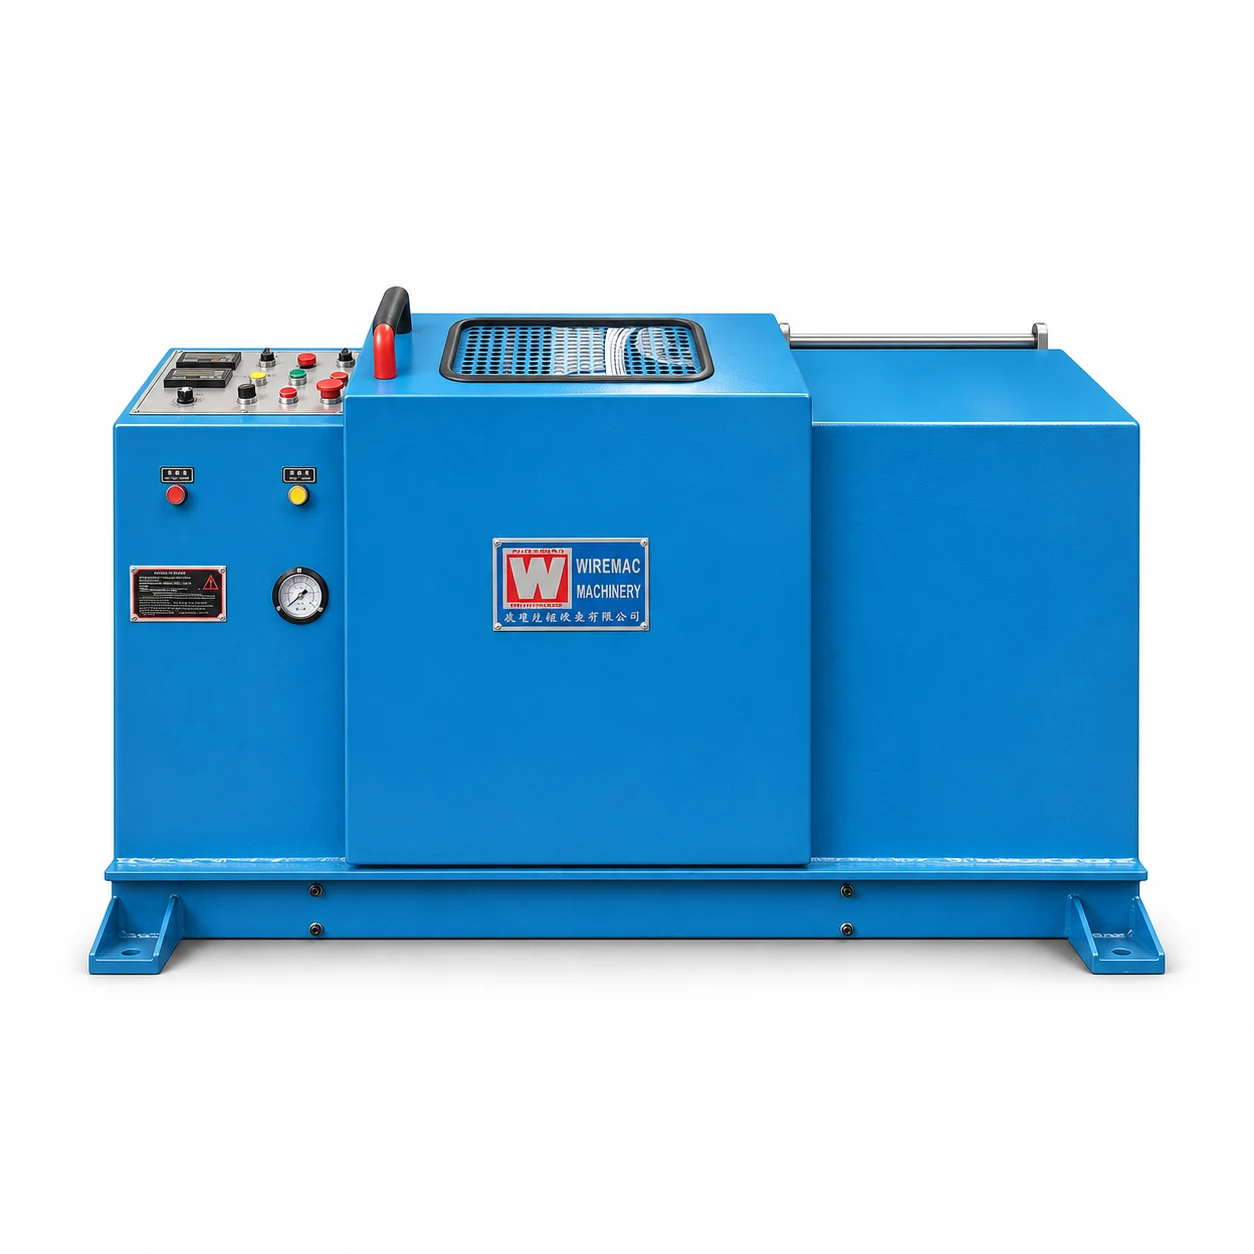
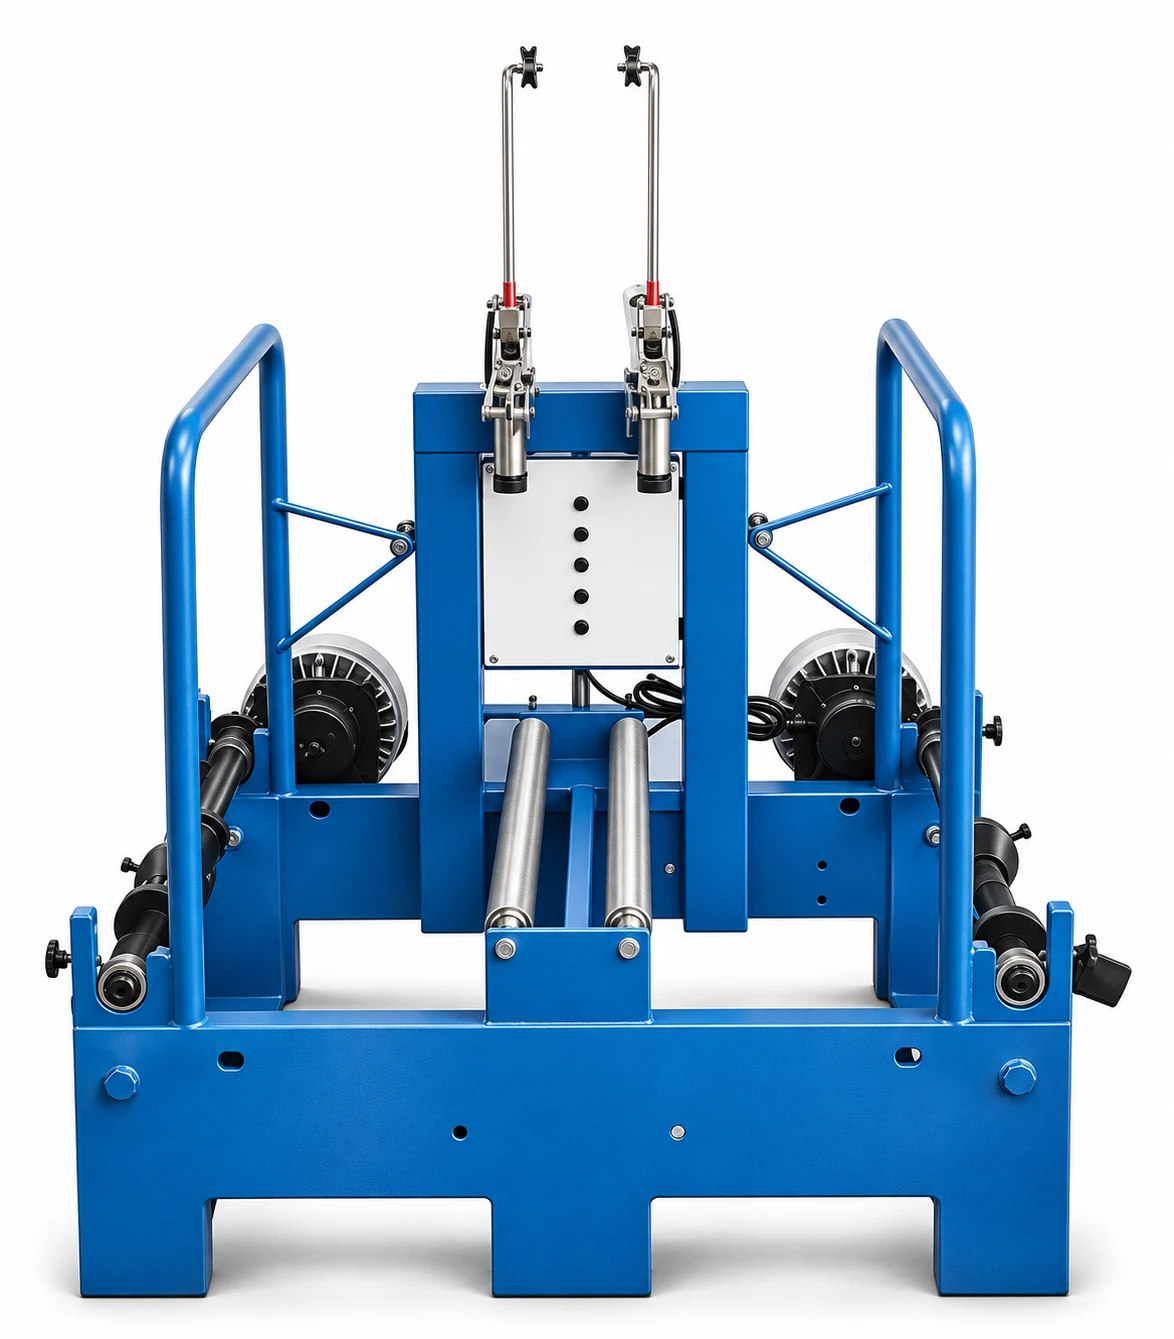
For an extrusion line, explain how the haul-off and winder divide the work of pulling and collecting the cable. State who handles the response when a reel reaches the end of its usable length.
| Handover | Evidence for the joint review |
|---|---|
| Retained line to new unit | Named speed-reference source, operating range, units and interface owner. |
| New unit to line controls | Agreed ready, run and fault indications, including responsibility for reset. |
| Joint trial | Named reel and material, agreed winding pattern and an inspection record through acceleration, steady running and a controlled stop. |
If one supplier owns the winder and another owns the retained controls, put both interfaces in the RFQ responsibility table. This gives each open point an owner before commissioning.
How to verify
Write the trial around a named reel, material, line speed and winding pattern. Agree how to record tension during acceleration, steady running and a controlled stop. Include loading, unloading and finished package quality in the acceptance record.
Record both the supply reel and the finished package on the witness sheet. Have the parties responsible for the retained line and the new unit identify any outstanding interface.
Your next step
Turn this guide into a useful project brief
Carry the preparation questions into your brief, then add your cable and factory requirements.
Prepare my project brief Prepared locally. No inquiry is sent.